How To Clean Graphics Card? If you’re looking to clean your graphics card, there are a few things you can do before you go. Read our following article to understand step by step better.
Why Do You Need to Clean Your Graphics Card?
It will overheat and eventually fail to function if you do not. It’s that simple.
GPUs can be an expensive investment. They’re not something you can throw away a damaged one and then plug another one in at will unless you’re wealthy, obviously, but don’t do it.
It’s crucial to take care of it and ensure that you frequently clean it up so it won’t fall all over you during the heat of a game or 16-hour render.
Is It Safe to Touch a Graphics Card?
There’s nothing wrong with touching the computer’s video card, provided your hands are clean of dirt and oil. If you remove the plugs in a manner that is gentle and professional it is safe to not worry about any damage that could be caused or damage to your card. But, if the card is extremely hot, it is best to avoid touching it as you could damage your hands.
There are two methods to clean the graphics card within your device. One option is to disconnect the graphic card of the motherboard, and the second is to clean it, but without having to remove it. Both options are appropriate for different situations. You can undoubtedly avoid unmounting the card when the dirt is not heavy and easy to clean.
However, taking your graphics card out of its socket is crucial if you notice that your card becomes full of dust and is it is difficult to clean.
The other method is getting rid of your graphics card to eliminate grease that could affect the video card’s performance. This is why it is essential to get rid of your card to complete the task accomplished in one step.
What Do You Need to Clean Your Graphics Card?
Cleaning your GPU is quite simple. If you’re not planning to deep clean, you only require a few tools.
The most crucial factor is to get an air compressor or an air compressor/blower. This is the primary factor in getting rid of dust.
It is possible to utilize a vacuum in the event that your debris or dust isn’t clinging on top too much. However, I’ve personally not had the best experience with vacuums.
Air or compressed air pump may be dirty; however, it completes the job.
I’d also suggest getting some cotton swabs and a microfiber cloth. Sometimes, the dust may be quite caked-on, and you must remove it with a swab or even a cloth.
It is recommended to purchase some isopropyl Alcohol (at minimum 70 percent, recommended at 90%) is also a good idea to dampen your cloth or swab to make it easier to clean all dust or debris.
If you plan to remove the GPU to clean it, purchase the Phillips screwdriver.
Most GPU bracket screws nowadays are simply thumbscrews, and you’re unlikely to end up having to use this; however, it’s always better to be well-prepared.
That’s all you’ll need.
How to clean graphics card?
1. Turn Off Your PC and Your PSU
The first thing to do is turn off your computer and your PSU.
Do not work on a computer that’s on unless you’re sure you know what you’re doing and will not cause any harm. In any case, it’s better to be cautious than risk equipment valued at hundreds of thousands.
I don’t think it is necessary to go into detail on how to turn off the computer.
Please turn it off within the OS you’ve installed, and wait for a while until the light on your computer goes out. (Some motherboards will have LEDs that remain present, but you can leave them off).
It is also possible to press the power button and switch it off this way, but following the correct procedure is safer and guarantees that nothing is damaged.
After this, you must shut off your PSU.
Even though your PC has been turned off, the PSU still supplies tiny amounts of energy. Therefore, if you wish to clean your PC, you must stop this.
Nearly every decent PSU available is equipped with a switch in the back where you plug it in, which you can switch off. Could you switch it on? I’m also prone to take out all PSU electrical cables completely. There is no need for this to be done. However, I like to err on the safe side.
If, for any reason, your PSU does not have an on/off switch, first purchase an entirely new PSU because even old Chinese PSUs come with on/off switches.
Then it is possible to take the power cable off entirely to do the same task.
To summarize:
- Shut down your PC using an Operating System (Recommended) and by pressing your power button (Not recommended).
- Turn off the power source located on the back of the PSU.
- (Optional) Take out the cable connected to the PSU.
2. Remove All External Cables Attached to the GPU (Optional)
When you’ve turned all your devices off, now is the ideal moment to take off all cables for display that could be connected to your GPU or your computer, in general, should you move it outdoors to get it cleaned.
If you’re planning only to clean the GPU gently, but not wholly the entire thing, this step could be removed entirely.
To summarize:
- Remove any cables connected to your graphics card.
- Remove the cables that connect to your computer if you wish the PC to be taken outside for cleaning.
3. Open Up Your Case to Access Your GPU
It’s time to open your case to ensure that you have access to your GPU to do some cleaning.
Since different cases could include different ways of taking off the side panel, it is recommended to glance at the guide first to find out how you can take the side panel off your laptop.
If you don’t have the manual just search for your case’s name, followed by “manual”, and you’ll probably find the online version or PDF manual on the manufacturer’s site.
For most modern cases, the side panel is held by two thumbscrews positioned in the back of the case. Take them off the screws, and you can slide the side of the case quickly.
To summarize:
- Refer to your case guideline.
- Take off any screws or latches securing the side panel.
- Slide off or open the side panel, then place it in a secure location, especially in the case of glass.
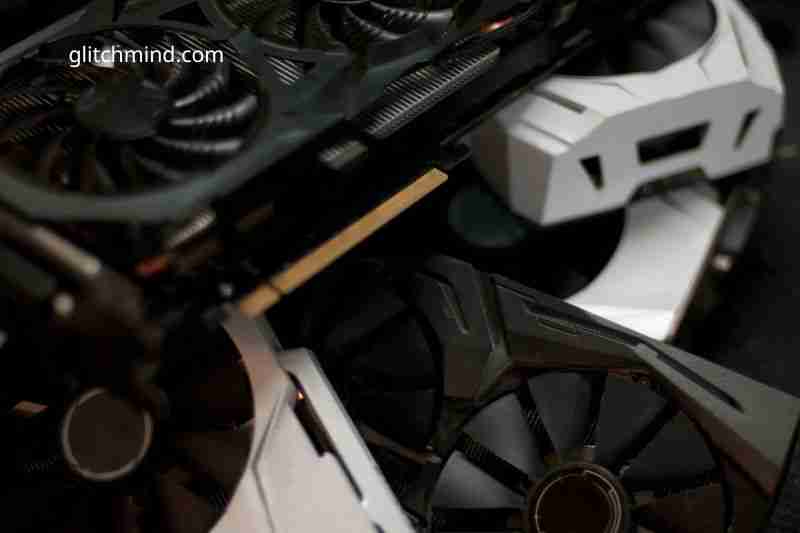
4. Remove the GPU From Your Motherboard
It’s a second option I would recommend you try because it makes cleaning much simpler however, you don’t need to if you desire to speedily clean your PC with minimal effort.
We have a complete article outlining how you can get rid of your GPU without harming your motherboard. Therefore, I will not go into many details about it here. The essence of the matter is this.
The first step is to remove the power cable which could have been connected to your graphics card. It is usually located opposite the I/O side.
Next, look for the screws on the rear of the case where the GPU is connected with the bracket for PCIe.
There is a good chance that you have just one or two screws on the wall. Take them off.
Third: Once you have removed the screws, place your hand inside the case close to the side of the GPU and attempt to locate the PCIe slot that the GPU is attached.
Then, move to the side on the PCIe slot, and you’ll feel the tiniest latch. It’s there to protect your GPU. Retract it.
When you feel the latch loosen, take care to take off your GPU I/O side first.
It is best to complete it on the first on the I/O side because GPUs come with a tiny hook-like part that plugs into the socket PCIe. If you pull too loosely, you may break it.
To summarize:
- Take off the power cable that may be connected to your GPU.
- Unscrew the screws holding your GPU onto the PCIe bracket.
- Unlock from the latch PCIe.
- Get rid of all GPU I/O sides first.
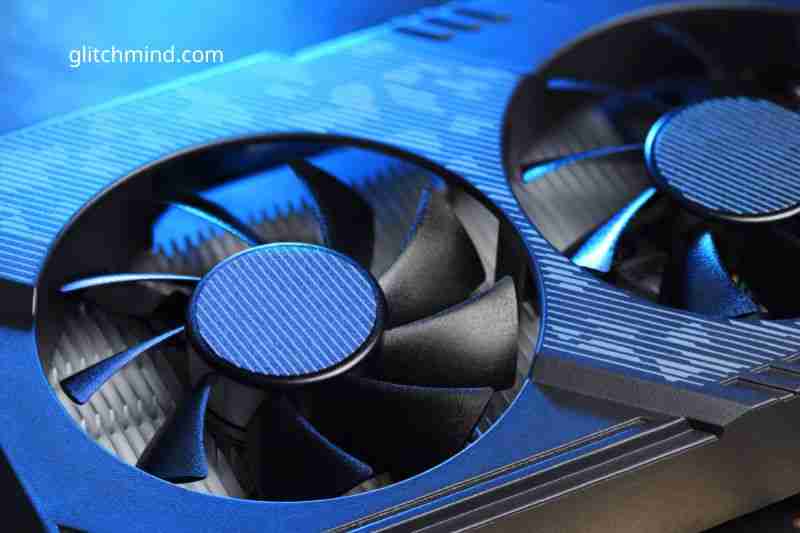
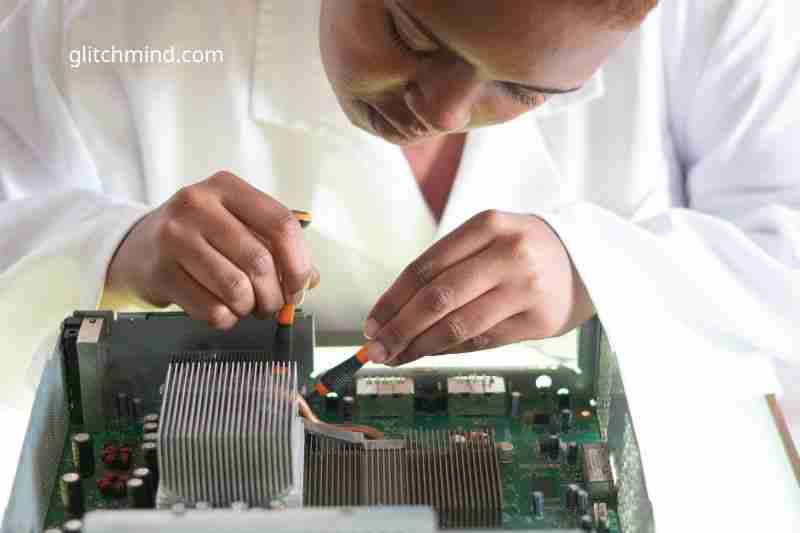
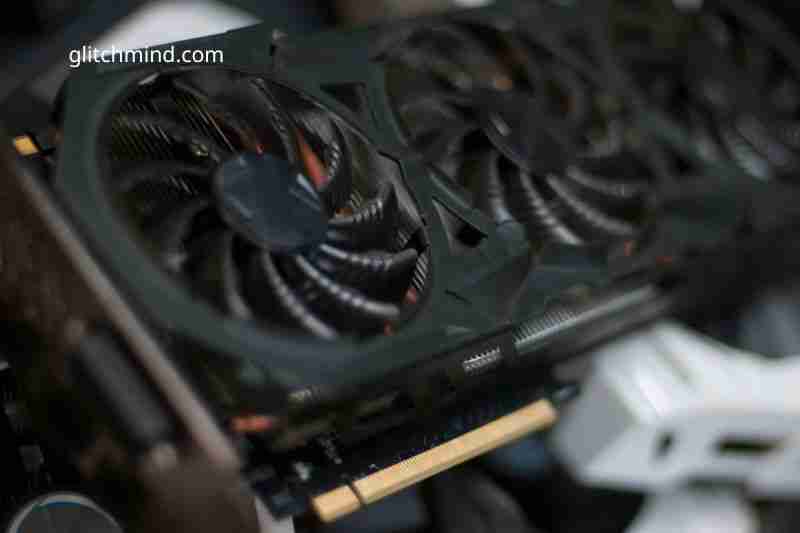
5. Clean Your GPU
Now, let’s move on. We’re on to the final stage. Finally, you can clean up your graphics card.
If you eliminate your GPU, you can place it on a clean, uncarpeted surface, such as the table, then clean it.
If you decide to keep the GPU inside the case, you may have to bend your body to access the GPU; however, it shouldn’t be difficult to clean.
GPUs are pretty durable and difficult to destroy. If you don’t drop them or splash water on them, cleaning them shouldn’t cause problems like cleaning everything else.
The most important thing to remember is that when you use either compressed air or air pumps, you must never allow your GPU fans, or any fan, for that matter, to spin freely.
It’s enjoyable to watch the blades move but it’s incredibly harmful to the fans. It’s possible to overload the fan, causing it to cause it to short-circuit. This isn’t fun.
Make sure to keep your fans in place as you blow at them.
When you’ve finished with the fans, clean off any dust that has settled between the fins of the heatsink of your GPU.
A bottle of compressed air may help with this as it can send concentrated and precise blasts of air that could remove all the dust from between fins.
Once you’ve cleaned the GPU, repeat the entire process backward, and you’ll end up with an attractive and polished GPU.
To sum up:
- Place the GPU on the clean non-carpeted surface after you’ve removed it from the case.
- Remove the case from the inside If you’ve not yet removed your GPU from the box.
- Utilize your microfiber cloth swabs, as well as isopropyl alcohol to clean out the surfaces of the GPU.
- Utilize either compressed air or an air compressor to blow off the dirt from the GPU. Especially the dust that is inside the fins.
- Let the GPU sit for a minute or so so that any alcohol isopropyl remaining in the GPU will evaporate.
The GPU is now connected to your computer, and you can relax with your clean GPU.
How Do You Clean Your Graphics Card?
What I’ve explained in the previous paragraphs is merely simple GPU cleaning. Nothing too complex.
It’ll leave your GPU looking nice. However, if you actually would like to clean it then it’s not enough.
There’s much more to be done in cleaning your GPU, from replacing the thermal paste, swapping out thermal pads, getting off the cooler and fans to clean the area effectively, and much more.
But, it’s useless to describe these things using text, since the ability to convey them visually is much more effective.
In light of this, I suggest you look over this video by Greg Salazar to see how you can thoroughly clean your graphics card.
How Do You Maintain a Clean GPU?
The best way to keep the cleanness on your GPU is to follow the steps I’ve listed above each month to every three months, depending on how dusty your house may be.
I would also suggest an additional thorough deep clean each six to twelve months.
There are other precautions to ensure that your GPU is clean and free of dust.
Make sure your workspace and area are neat and clean regularly.
Ensure your pet is well groomed to avoid shedding hair that could end up in your computer.
Place your computer on a table or surfaces that are not touching the ground.
Make use of a case that has mesh covers.
Tips for Keeping Your Graphics Fresh
Your GPU is among the most vital components in your PC, so it is essential to maintain your GPU clean and clear of dirt. Tips to help ensure that the graphic card is clean:
- Utilize compressed air to eliminate dust from the fan’s blades and heatsink.
- Quickly use a dry, soft cloth to clean the card’s exterior.
- Use a cotton swab or toothpick to clean dirt from the connections and ports.
- If grime or dirt persists, apply a mild cleaner (like dishwashing soap or water) with a clean cloth to remove it. Make sure you avoid having any moisture in the card!
FAQs
1. Cleansing a GPU solves the problem.
For a thorough clean compressed air, screwdrivers, compressed air, and isopropyl alcohol dusting cloth and a lot of patience are required. The first step is to remove the graphic card on the motherboard.
2. Can clean a GPU improve performance?
You can increase the airflow by cleaning it, which will help keep your equipment cooler. However, no performance gains will be evident if your hardware runs hotter than designed.
3. How can I get rid of dust from my computer?
The principal cleaning agent for your graphic card can be compressed air via a container or air compressor. If dust and dirt caked on are present, get rid of them using the help of a Q-tip coated in isopropyl alcohol. Other components of computers are cleaned using an abrasive cloth or a cloth soaked in small amounts of isopropyl alcohol.
4. How long will graphic cards last?
GPUs can last between 5 and 8 years, depending on their regular usage and proper maintenance. They can last even longer if they’re not regularly used and are well maintained. A high-end GPU can be suitable at mid to high performance for three or four years in the present and performance-wise.
5. Do you clean GPU pins?
If you cannot physically observe any pins, keep them in place. If you do notice anything, apply the compressed gas to blast any loose material off the pins. And If to use cotton to bud that is covered (but not drippy) with ruby alcohol. Use a towel to clean any liquid residue off lightly.
6. Does mining damage your GPU?
GPU mining doesn’t pose a risk for your computer; the running time poses a risk since most GPUs depend on auxiliary or attached fans that wear out more quickly during long-term use. It is recommended to clean your cards frequently to avoid the possibility of damage.
7. What can I tell when the graphics card is failing?
If your screen is frozen and then turns black or displays blue screen errors, it might indicate your graphics card is not working properly. However, malware, memory (RAM) issues, or even a dying hard drive may be at fault.
Conclusion
Cleaning your card will enable users to get every amount of performance you can from it. As long as you perform it in a planned and correct way, there’s no way that your card will be damaged during the process.
Read also: